By John Holbrook, PE
March 30, 2024
This project combined my interest in industrial automation, software development and audio production. My efforts were successful and gave me one of the simplest, yet overpowered drum machines.
Compared to the drum machines that have preceded it, this is a true “drum” machine. Just a single sample of a kick drum. No snares, hi-hats, toms, crashes, rides, or claps. Only kick. It won’t be replacing a TR-808, but it was a fun project that challenged me to learn and integrate systems I wouldn’t have otherwise.
One of my favorite audio tools is modular synthesis, particularly the eurorack format. Instead of being restricted to the architecture of a specific synthesizer, eurorack allows you to freely connect components. One device, the step sequencer, allows the user to create a pattern of pulses to control other modules, such as drum machines. I started this project by thinking how a step sequencer could easily be implemented in ladder logic. It could be programmed to be flexible, and I could help others learn how to program PLCs by sharing my process. After ruling out second hand SLC 500s, I turned my attention to the Automation Direct CLICK platform. While the programming environment isn’t terrible, the hardware costs meant it would be a luxury project. This meant the project sat on the proverbial “shelf” gathering dust.
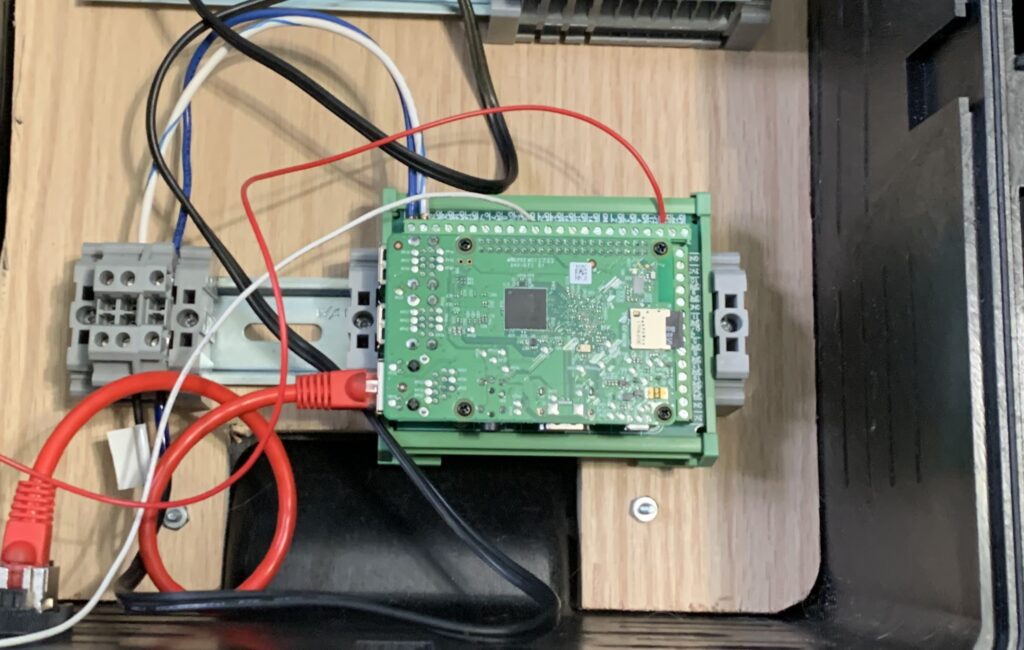
My experience has been almost exclusively with Allen Bradley, with some projects in Siemens. When Codesys crossed my radar, I found the concept intriguing. A software-based automation platform where manufacturers can license the runtime for their hardware. A novel approach, but could it be self-limiting in adoption. I was shocked to find that the basic development environment is available at no cost to the designer. I was elated to learn that there are runtimes for PC based automation, targeting both Windows and Linux. Then I discovered there is a runtime for the Raspberry Pi family. If I combined this knowledge with my step sequencer idea and I now had a viable project.
I love the Raspberry Pi. The utility it has brought to enthusiasts and education is phenomenal. I have always been curious as to how the Raspberry Pi might be utilized in automation. So far, they have been limited to production displays of internal webpages. The Codesys runtime seemed too good to be true, claiming without a license it would run in a 2-hour demo mode. This convinced me, and I set out to start my project.
Using the official imaging tool I flashed my SD card with a lite version of the Raspberry Pi OS and configured the SSH credentials. (It’s quite annoying that you can configure the wlan but setting a static IP for the ethernet port can’t be done from the imager.) I connected the Pi to my network and verified an SSH connection from my computer.
Installing the Codesys development environment was straight forward, and the installation manager tool is helpful. I was tripped up that the Raspberry Pi toolset is not installed by default. I had a fear that I’d need to go through the Raspberry Pi’s package manager. It was surprising that it felt no different than updating firmware in a CompactLogix processor.
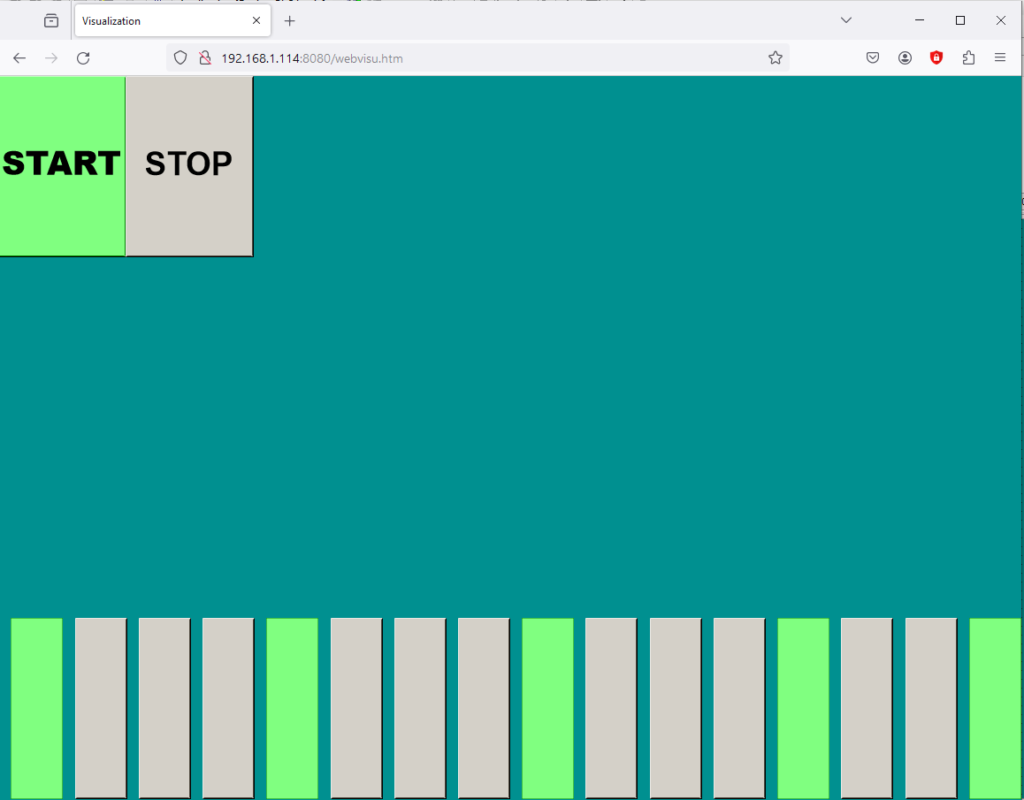
There were several revisions to the program. Most changes were from learning how Codesys structures a program and discovering its unique tools. The program has only two routines. The first is where the sequencer logic lives, the second is for overhead logic that doesn’t require fast execution. Currently the overhead just takes a tempo variable and calculates how much time should elapse between steps. The sequencer logic takes that time delta as the delay time for a TON instruction. The TON instruction is enabled once the start button is pressed and until the stop button is pressed, or if the time delta is reached. This is a simple method to having a bit only active for a single scan. The bottom of the routine is a CTU instruction that is indexing the active step. The remainder of the logic sits between the TON and CTU. It checks if the bit located at the active step location in the pattern is active. If so the output is enabled and when the pulse bit is active we activate the output for a set amount of time.
I intended to write the logic to use tactile switches to select the steps of a pattern. A friend of mine ended up spending a few hours with me as we wrote the very initial revision of the program. They added a visualization screen to see how Codesys handles HMI development. When we saw how it ran simultaneously on the Raspberry Pi and how well the web-based interface worked, I decided the entire program would be controlled through the HMI. Long term this is beneficial as I can control the sequencer from any device connected to the same network.

After testing out Codesys and connecting the output to trigger the envelopes on my Behringer Neutron, I was eager to do more. The opportunity to incorporate another project that had been on “the shelf” was exciting. It is developing a dedicated drum sound module for eurorack. While I would have liked to make the system entirely programmable using software to generate a waveform on each trigger, it was too large in scope for my current experience and limited time for the project. I chose instead to simply play a sample when a trigger is received.
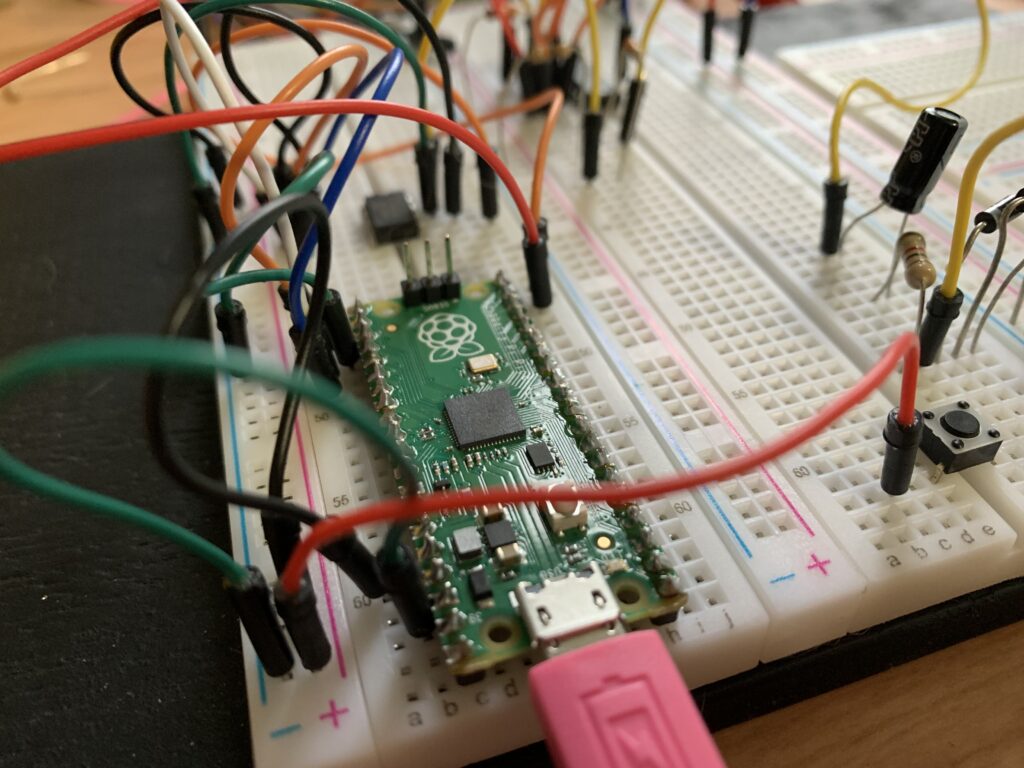
The RP2040 of the Pi Pico was my chosen microcontroller since I own three. I decided to use the C SDK to have access to low level features and fast execution time. While it is frustrating to not be able to bypass the embedded ROM, the drag and drop functionality to update the flash memory is worth it.
Most of the secondary components were items that I had on hand or could be ordered from a major online retailer. The DAC is an MCP4921 and while not designed for audio signals it’s more than functional for my drum samples. To buffer the DAC output I am also using a TL074. The four op-amps in the IC are ample for implementing the analog needs.
The biggest hurdle to getting audio playback was programming a way to send sample data from the Pi Pico to the DAC. Unfortunately, my DAC has a bonus feature that complicated matters. On the MCP4921 there is a pin labeled !LDAC. This pin allows multiple DACs to update their outputs simultaneously. Once the data is received from the SPI bus the DAC doesn’t update until !LDAC is driven low. This required me to have the program change !LDAC after every SPI write for a sample. While the process is functional, I wish it didn’t require the extra overhead.
With the SPI communication sorted it was time to get a kick sample. I opted to use Logic Pro to design my own. The included “Drum Synth” plug-in was perfect for my needs. I exported the audio and quickly realized I had a problem. The wave file was 16 bit stereo and one second in length. The DAC was 12 bit, mono, and unipolar. This is where I turned to one of my tool box applications, SciLab. I’ve used MATLAB and GNU Octave for all sorts of projects and analysis of data. SciLab came to my attention last year and I have been testing it out ever since. I made a small script to load the wave file into SciLab and output a binary file of the sample isolated and reduced to 8 bits. I could see the finish line.
This part was a challenge for me. Getting raw binary data into a C program is not one of my areas of expertise. Please note there is most likely a better way to do this, but for expediency, I chose the quick and dirty. I used a combination of a hex editor and text editor to format the data so it could be added to the source code as an array of bytes. Visual Studio Code then reformatted the file and suddenly the code was over 10,000 lines. To get the sample data to sequence, it latches playback until it either finishes or is retriggered. While no trigger is active it shoves the DC bias point to the DAC.

With the Pico able to perform sample playback and the Raspberry Pi outputting trigger pulses it was a simple matter of connecting the two together. With the drum machine now fully functional, I programmed a pattern and pressed play. My kick sample was coming out through a speaker. A few more patterns were programmed and found myself brainstorming the next round of features.

The biggest improvements that can be made to the Codesys program is to have multiple trigger outputs, multiple patterns, and flexible pattern length. Long-term features would be finding a way to implement MIDI messages over UART.
The drum sound module has a multitude of features I want to implement. The first hurdles are getting the program to run in SRAM and not from flash. The XIP feature of the RP2040 is great, but it wastes clock cycles waiting for instructions to load. Once executing from SRAM, I need to change the execution to be driven by interrupt. Currently there is no control over what sample rate the DAC is updating at. To remain consistent between exporting from DAW to playback, I need the sample rates to match. In the long term, the second core will be used to handle selecting from multiple samples from an SD card.
This project was quite gratifying, and I plan to make a tutorial so others can build and enjoy it too. Codesys has a won me over as an automation platform. While there are some headaches with the development environment, the flexibility and power are fantastic. It is possible that many of my complaints could be resolved through customization. I will continue improving the system and will be posting source code to GitHub.
